- Buy Rapsberry PI 4 B like this one like this one, HDMI cable, Micro SD memory card and charger
- Folow this link https://www.home-assistant.io/installation/raspberrypi
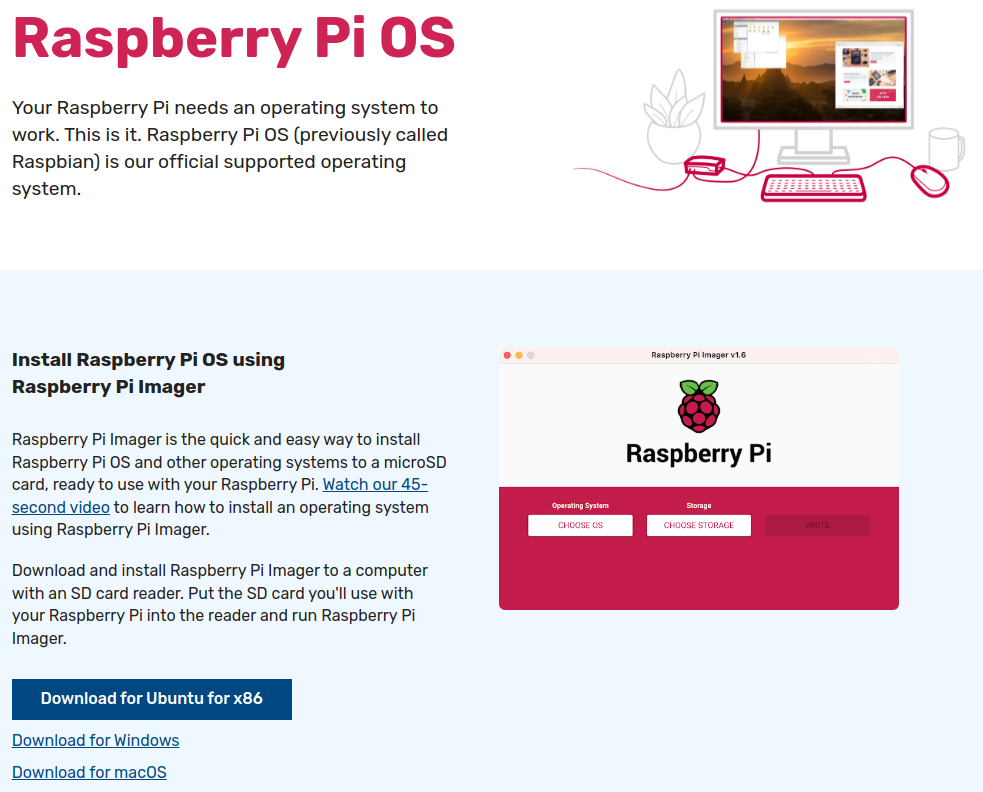
- Download Raspberry Pi Imager on your computer as described under https://www.raspberrypi.com/software/.
WRITE THE IMAGE TO YOUR SD CARD
- Download and install the Raspberry Pi Imager on your computer as described under https://www.raspberrypi.com/software/.
- Open the Raspberry Pi Imager and select your Raspberry Pi device.
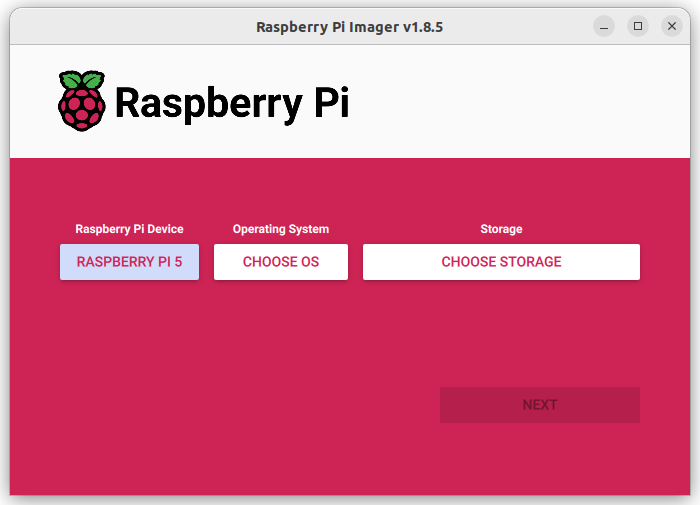
- Choose the operating system:
- Select Choose OS.
- Select Other specific-purpose OS > Home assistants and home automation > Home Assistant.
- Choose the Home Assistant OS that matches your hardware (RPi 3, RPi 4, or RPi 5).
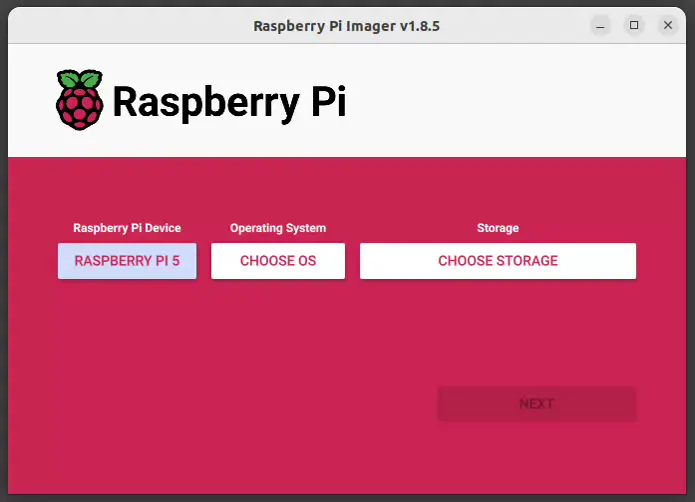
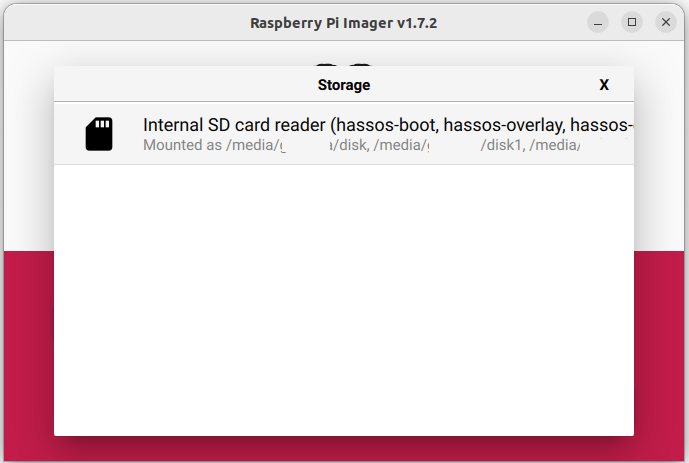
- Choose the storage:
- Insert the SD card into the computer. Note: the contents of the card will be overwritten.
- Select your SD card.
- Write the installer onto the SD card:
- To start the process, select Next.
- Wait for the Home Assistant OS to be written to the SD card.

- Eject the SD card.
START UP YOUR RASPBERRY PI
- Insert the SD card into your Raspberry Pi.
- Plug in an Ethernet cable and make sure the Raspberry Pi is connected to the same network as your computer.
- Connect the power supply to start up the device.
ACCESS HOME ASSISTANT
Within a few minutes after connecting the Raspberry Pi, you will be able to reach your new Home Assistant.
- In the browser of your desktop system, enter homeassistant.local:8123.If you are running an older Windows version or have a stricter network configuration, you might need to access Home Assistant at homeassistant:8123 or `http://X.X.X.X:8123` (replace X.X.X.X with your Raspberry Pi’s IP address).
- The time it takes for this page to become available depends on your hardware. On a Raspberry Pi 4 or 5, this page should be available within a minute.
- If it does not show up after 5 minutes on a Pi 4 or 5, maybe the image was not written properly.
- Try to flash the SD card again, possibly even try a different SD card.
- If this did not help, view the console output on the Raspberry Pi.
- To do this, connect a monitor via HDMI.
- If it does not show up after 5 minutes on a Pi 4 or 5, maybe the image was not written properly.
Congratulations! You finished the Raspberry Pi setup!
- Access your Home Assistent page http://homeassistant.local:8123/
- Under Settings – Add integratinos GoodWe inverter package https://www.home-assistant.io/integrations/goodwe/

Find IP of your invertor under your Router DHCP server Leased assigned IP like example from Mikrotik

Add IP address to inverter

In my case it was shown as


You should see GoodWe status in your Dashboard